Oh hollyhox.
We had a good run, didn't we?

Sometimes I'll be searching for an old recipe or wondering how I made a certain craft, and I'll riffle through my blog archives to find it.

It usually surprises me, because it's hard to remember what life was like, back when I had endless time and energy. I remember planning fun things I could make to post on the blog--it used to be such an important part of my life, and a huge creative outlet. And now I have a hard time remembering I even have (had) a blog! The seasons of life are funny.

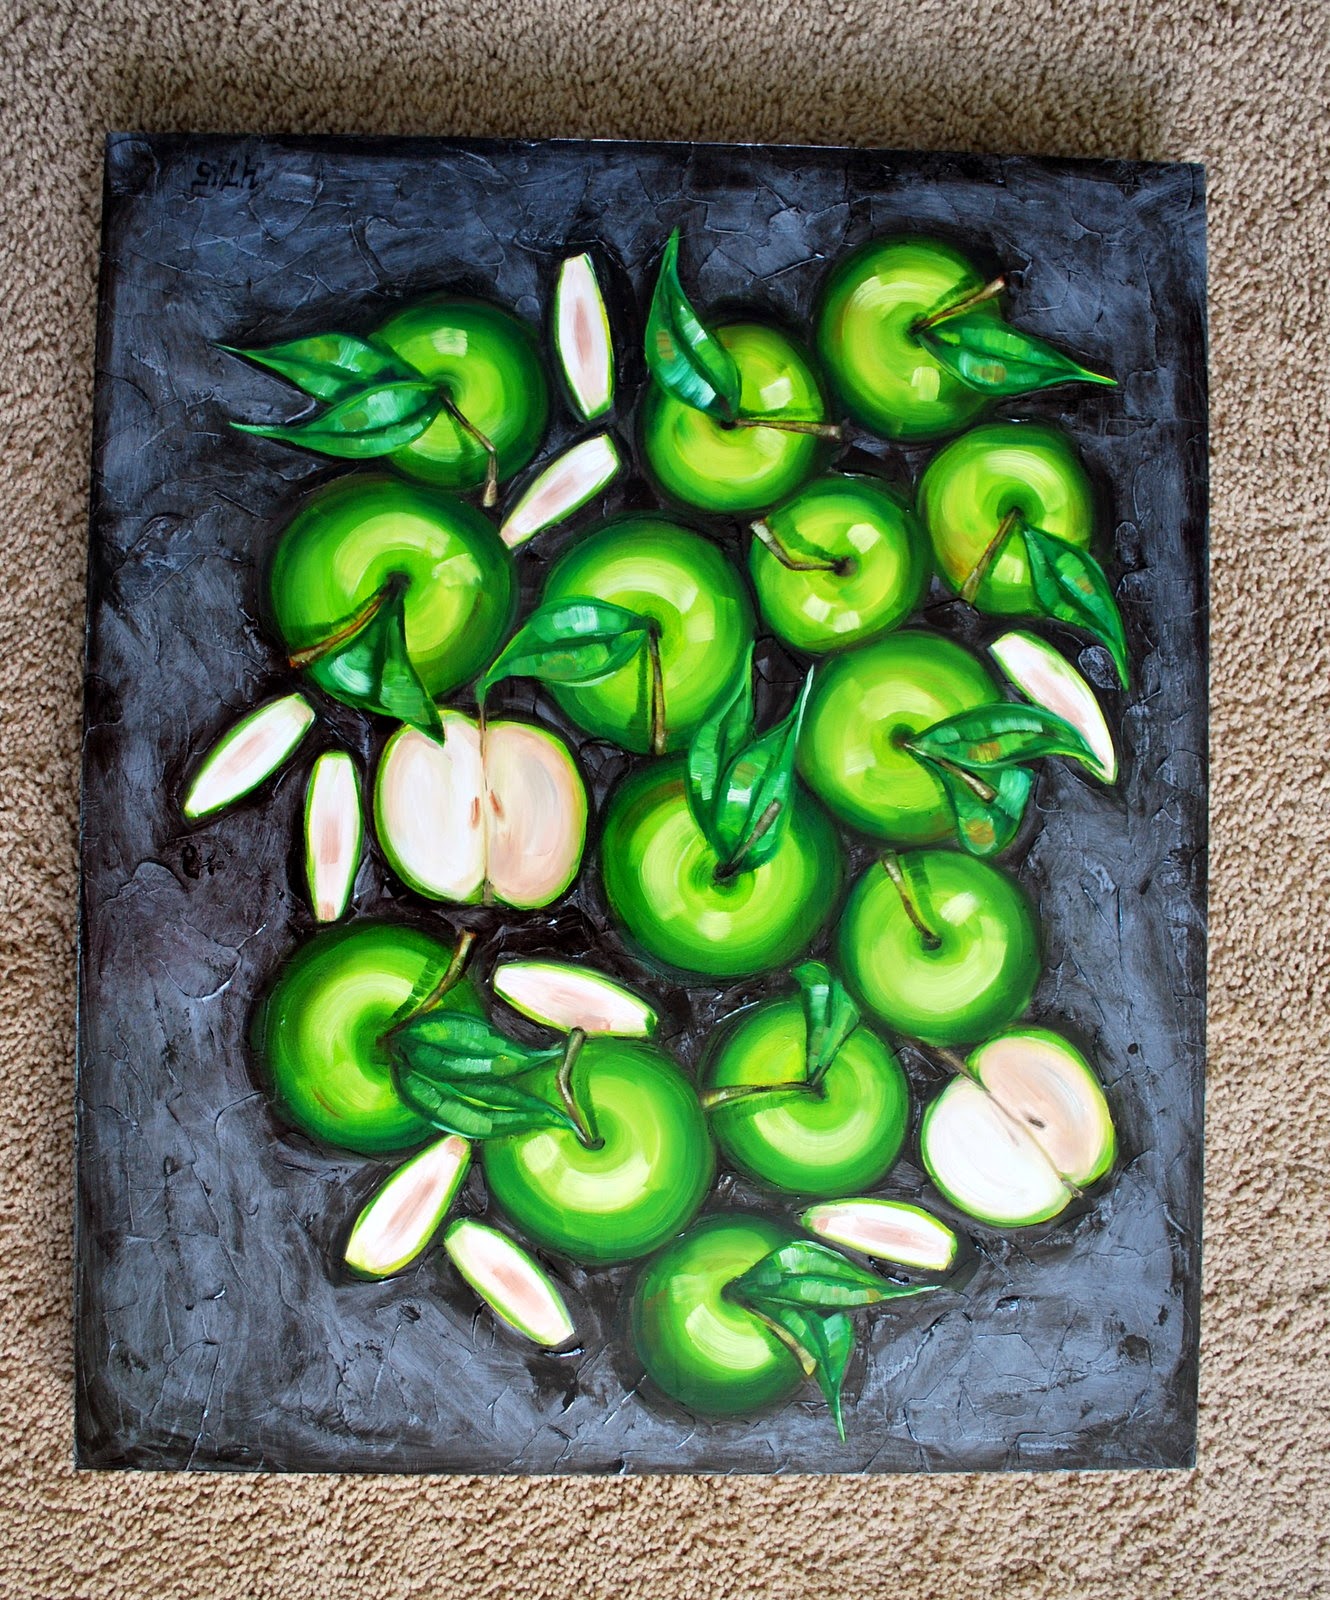
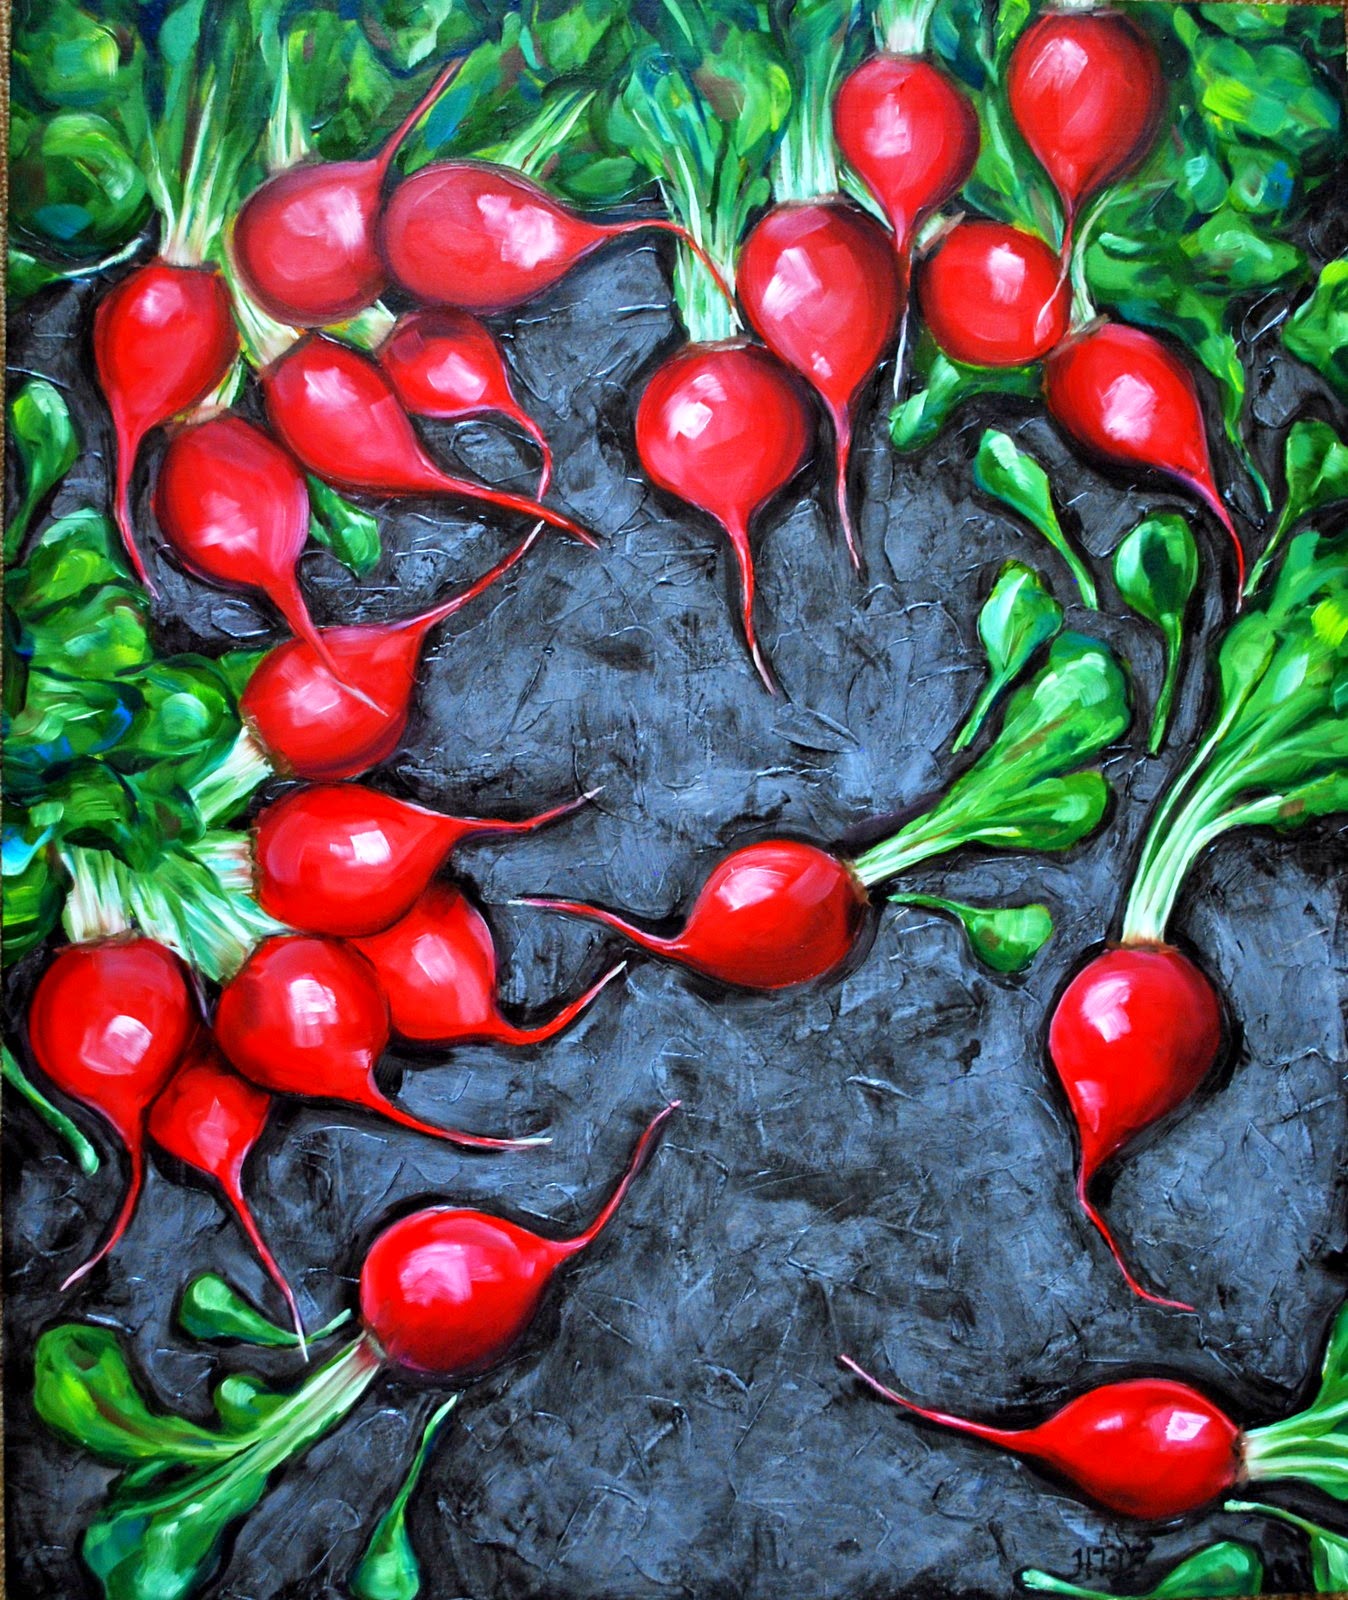
I spend most of my free time (naps and bi-weekly babysitter time) painting in my studio. It's become so important to my happiness as a mother, to keep that part of me active and strong.

My painting "business" has been growing and Evan has stepped in as my manager, because let's be honest....I am not good at managing things. He designed me an amazing new website, arranged for professional photos to be taken of my paintings (we'll be making some of them into prints eventually!), and he is going to handle all the stuff that gave me anxiety stomachaches (scheduling, emails, and stupid stupid phone calls).

It's going to be awesome.
We have small plans to take over the world :)

Six years ago I started this blog while we were living in a rural farmhouse in northern New Mexico. We had just graduated from college and Evan was working long hours.

I had just finished a big painting commission (spooning spoons for a frozen yogurt shop called Spoon Me. Oh the cleverness of it all!) and bought a sewing machine and a mountain of fabric with my earnings. I made no fewer than five quilts, countless throw pillows, placemats, fancy embellished napkins, skirts, one million bags, and any other possible thing one might make from fabric and thread. It was awesome.

It felt like one long summer camp. I was constantly emailing pictures of my creations to my mom and sister, anxious to share my new passion with someone!

And that's about the time I became aware of these weird things called blogs, and thought, yes! I could have one of those! And so I did.

According to my site stats, my most popular blog post is How to Make and Awesome Shirt. I receive dozens of hits a day from my bff pinterest. It makes me happy to think there are some awesome shirts walking around out there as a result!

My second most-read post is my trip report of Fern's Nipple. And I'm pretty positive that almost every person that clicks over to read the post is wanting more pictures of Fern, if ya know what I mean, haha! Oh Fern!

And when Hostess Twinkies went out of business, I had lots of desperate souls looking up how to make homemade Twinkies.

My personal favorite posts are when we got puppy Gesso—I remember that I couldn't wait to share the news!

And my very top favorite is when I showed off the best thing I've ever made (the baby, not the quilt. Although that is my favorite quilt!). He's amazing.

Also, my picnic blanket + picnic pants? That's a favorite too. We use that blanket daily in the backyard and I am sorry to report that those pants got eaten by Gesso.

The posts I reference the most for my personal use are the ones for my fluffy blueberry pancakes,

....and these sinful sugar cookies. I should probably print those recipes out someday, ha!

I've loved coming across random moments I had totally forgotten about. Like this snap when Evan had a rhubarb crisp hangover.

And I'd almost forgotten about my gnomie! (Gesso ate him, remember?)
I'm excited to finally make a book of this blog. It will be a treasure to me, full of my favorite projects and recipes, pictures of my little family, some fun trip reports, and many random pictures of my dumb dog. So basically, all my favorite things. I will leave the blog up as long as blogger will let me, but as of right now, I don't plan on posting any more.

So thank you, dear reader, for dropping by all these many years. I like you.
...........................................................
Here is a link to my new website (it's amazing), and I've just joined instagram to share my paintings with the people of social media (still haven't decided how I feel about it....). So you can find me there if you miss me. I'm hollythepainter over there.